
In this tutorial, you'll learn how to burn the Arduino bootloader onto a new ATmega328 microcontroller using a ATMEL AVR 8051 USB ISP Programmer. This process is useful when you’re building a custom DIY Arduino board or replacing a damaged bootloader.
Important Note:
Every Arduino board comes with an ATmega328 microcontroller pre-programmed with the Arduino bootloader. Typically, you don’t need to burn the bootloader again. However, if you’re working on a custom Arduino project or have a new ATmega328 microcontroller, you'll need to burn the bootloader onto it.
Let's walk through the process step-by-step.
Required Components:
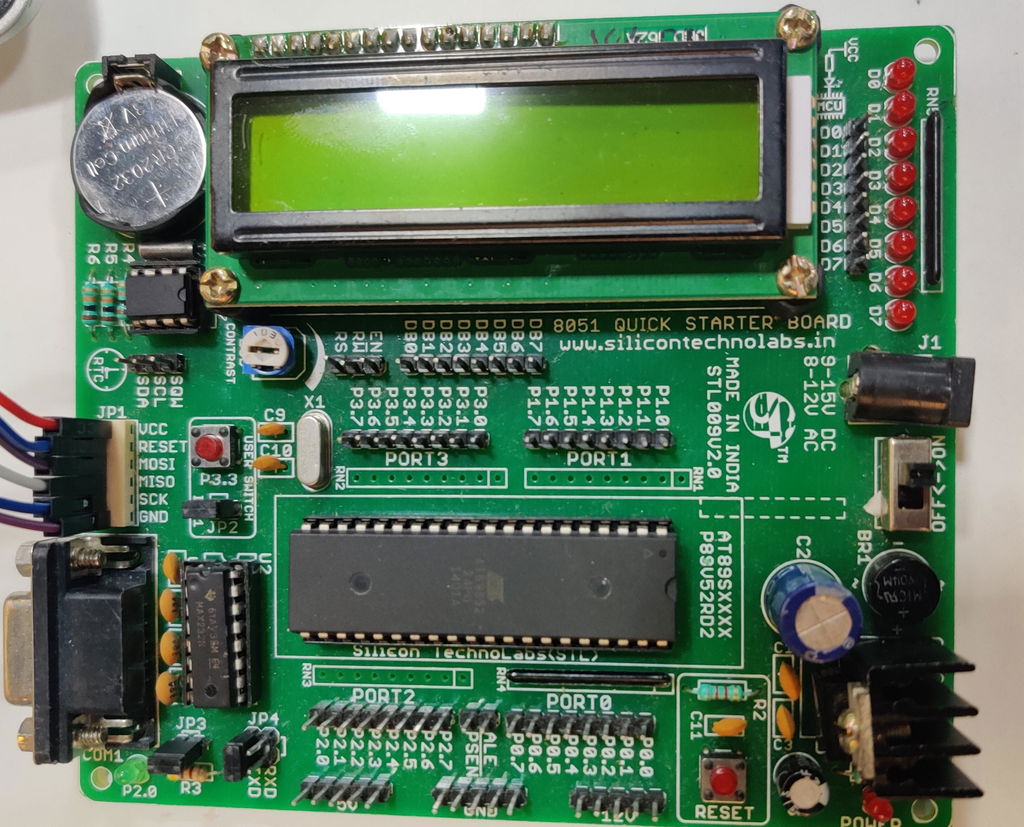
- ATMEL AVR 8051 USB ISP Programmer
- Breadboard
- ATmega328 Microcontroller
- Two 22pF Capacitors
- 16 MHz Crystal Oscillator
- 10K Ohm Resistor
- Hook-up Wires
-
AVRdude Software
Step 1: Set Up the Circuit
Start by setting up the circuit on a breadboard as shown in the diagram below. Carefully connect each component as per the circuit diagram.
In the diagram, JP1 connects from the ATMEL AVR 8051 USB ISP Programmer. Use jumper wires to carefully connect everything according to the diagram. Once all the connections are made correctly, you’re ready to proceed to the next step.

Step 2: Upload the Hex File
Now that the circuit is correctly set up, it’s time to upload the bootloader hex file to the ATmega328 microcontroller.
You can find the bootloader hex file in your Arduino software folder at the following path:
arduino-1.0.5-windows\arduino1.0.5\hardware\arduino\
bootloaders
\optiboot\optiboot_atmega328.hex
Alternatively, you can download the bootloader file from Arduino bootloader.
Step 3: Install AVRdude and ATMEL AVR 8051 USB ISP Programmer Driver
Before proceeding, ensure you have AVRdude software and the USBasp Programmer Driver installed on your computer. These tools will allow you to communicate with the ATmega328 and burn the bootloader.
Step 4: Open AVRdude and Select Programmer Type
After installing the required software, open AVRdude. In the AVRdude interface, select the USBasp programmer from the drop-down list as shown in the image below.

Step 5: Detect the ATmega328 Microcontroller
Once the programmer is selected, click on the 'Detect' button. This will automatically detect the ATmega328 microcontroller. If there’s any issue with detecting the microcontroller, double-check all your connections to make sure everything is wired correctly.

Step 6: Read Fuse Bits and Lock Bits
After the microcontroller is detected, the next step is to read the fuse bits and lock bits. Click on the 'Read' button in the AVRdude software to fetch the current fuse and lock bit settings.
Warning: Be very careful when modifying the fuse bits. If you set them incorrectly, it could permanently damage the microcontroller and prevent it from working. Here are the default values for the fuse bits:
- LOW Fuse: 0x62
- HIGH Fuse: 0xD9
- Extended Fuse: 0x07
- LOCK: 0xFF

Step 7: Upload the Hex File
Now that the fuse bits are correctly read, browse to the hex file you downloaded earlier (or located in your Arduino folder). Select the file and click 'Open'. Make sure to check the fuse bit checkbox as shown in the image.

Step 8: Program the ATmega328
Once everything is set up, click the 'Program!' button in the AVRdude interface. The process will take about 30 seconds. When it's done, you can use your ATmega328 microcontroller as a fully functional Arduino board.

Conclusion
Congratulations! You’ve successfully burned the Arduino bootloader onto your ATmega328 microcontroller using a ATMEL AVR 8051 USB ISP Programmer. You can now use your microcontroller just like any other Arduino board and start developing your custom projects.
If you run into any issues during the process, double-check your wiring and make sure all the connections are correct. If you continue to face problems, feel free to reach out to the Arduino community for help!


1 comment
Very useful, thanks.